Why does rust appear on my vehicle?
Cars generally have paint and other protective coatings to shield their exteriors from direct exposure to moisture and oxygen. However, the metal beneath the paint can be exposed due to damage from scratches, dents, or chips in the paint. This exposure initiates the rust formation process.
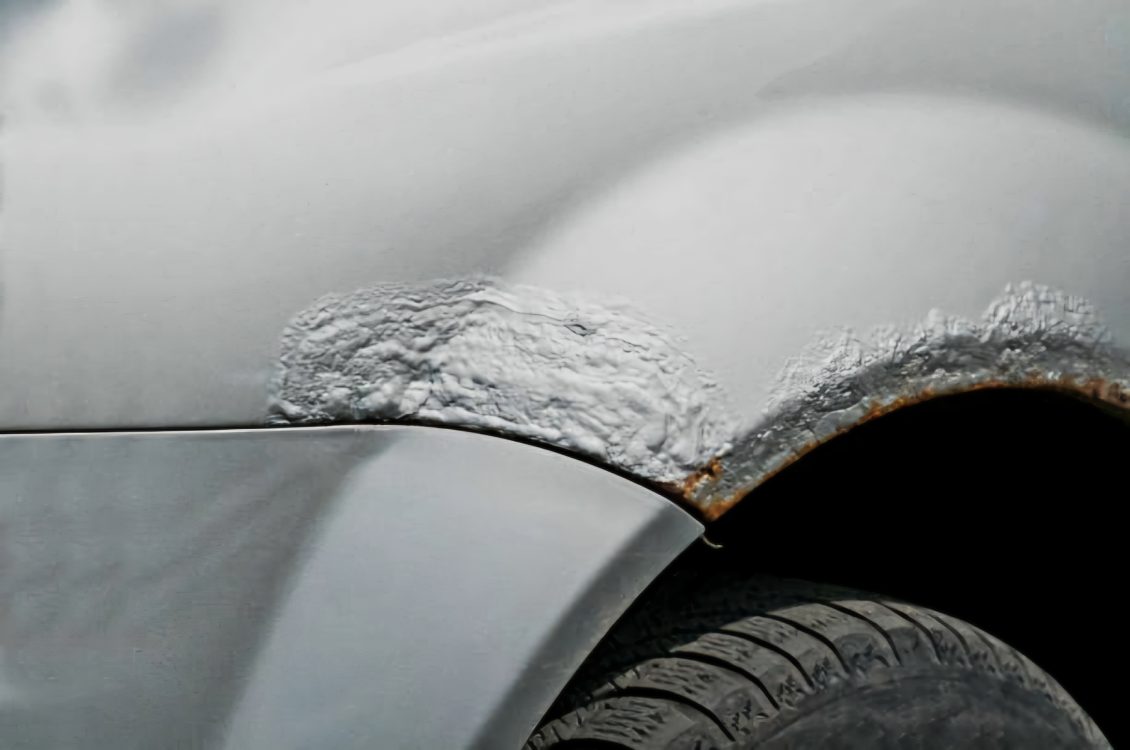
Silver car broken side with damaged metal with rusty paint and corrosion above the tire
If you want to have a go at removing rust for yourself, here is a list of equipment you may need :
- Angle grinder and flapper wheels
- Wire brush
- Fibreglass epoxy gel
- Body filler
- Various grade sandpaper (80, 400, 600, 1000, 2000)
- Sanding block
- Primer and base coat paint
- 2k clear coat paint (available in aerosol cans)
- Masking materials (paper and tape)
- Rubbing compound
- Mineral spirits
- Rags
- Tack cloth
How to Remove Rust
1) Remove Paint and Rust
Use an angle grinder with flapper wheel to remove the old rust and paint from the surface to be repaired. For an area where you can’t reach with the grinder, use the wire brush to remove as much dirt, grime, and rust as you can.
2) Repair with fibreglass
Long strand glass fibre repair gel creates a structural repair that is nearly as strong as steel. Mix the gel and hardener, and press into the damaged area from behind. Read the package, but it typically starts to harden in about 15 minutes and can be sanded in less than an hour.
3) Sand excess fibreglass
Use the angle grinder and flapper wheel to sand off any glass fibre gel that has been pushed out through the rust holes. The surface of the hole should be slightly recessed compared to the metal body panel so that it can be filled with the smoother body filler.
4) Apply body filler
Mix the body filler with the proper amount of hardener. Apply body filler with a flexible, flat spreader, pressing it into the rust holes. The flatter you can get the filler means the less sanding you will have to do. Be careful to apply enough filler so that there are no low spots, pinholes, or scratches that will have to be filled in with a second coat.
5) Sand it smooth
Start with 400 or coarser grit sandpaper and sand off any excess body filler; it sands faster if it is not quite fully hard. This is the most time-consuming part but it’s important to ensure you have a smooth surface before you apply any paint. If sanding a large area, you may need a sanding block to make sure you don’t end up with a wavy surface. You are finished when the entire area has been sanded smooth to the touch with 400 grade paper.
6) Clean area
Wipe the area you just repaired with a clean rag and mineral spirits to remove any residual dirt or oil from your fingers. The body filler needs to be so thin you can see metal and paint through it in most places. Let dry, then wipe once again with a tack cloth to remove any lint. Any fingerprint, smudges of oil, or specs of dust will cause spots, fisheyes, or runs in your paint, so cleanliness is crucial from here on out.
7) Apply primer
Spray primer over the area, including any bare metal, and at least an inch around it to allow for blending. For the best results, spray over the entire area in a thin coat, then go over again a few minutes later with a slightly heavier coat. Let the primer dry the recommended amount of time before sanding.
8) Wet-sand and repeat
Wet-sand the newly primed area with 400 grit sandpaper until it is smooth and the edges of the repair are feathered into the original paint. Wipe clean, allow to dry and spray another coat of primer. Move to a 600 grit sandpaper and wet-sand and prime again. To get a reasonably smooth repair you will need two or three coats of primer.
9) Spray the base coat
Most cars these days use a base coat (the colour paint) covered with a protective top coat (2k lacquer), but many touch-up paints can be applied alone. Spray two or three thin coats of paint over the primer and repaired area, and up into the original paint. Several thin coats are better than one thick coat to avoid leaving runs or drips in the paint.
10) Rub out the paint
To get the full glossy finish from spray can touch-up paint you need to run it by hand with a polishing compound, and if you have any significant mistakes (orange peel, runs, drips), you will need to start with wet-sanding. Wet-sanding with 1000 and then 2000 grit should be sufficient to remove runs and orange peel, or you may have to go even coarser, but go too far, and you will have to spray another coat of paint. Polish lightly with a rubbing compound, then move up to a finer polishing compound, and you should achieve full gloss. The rubbing will also allow you to blend the new paint of the repair into the original paint around the edges.
11) Spray the clear coat (optional)
A clear coat is optional for most minor repairs, but the introduction of 2K clear paint in a spray can is advantageous if you plan on keeping the car. The original factory paint uses a two-part mixture with paint and an activator or hardener, making the paint like an epoxy that is used to protect the paintwork from weather, UV light, and solvents. Two-part, or 2K, spray paint will make your home repair nearly as durable as a professional body shop paint job, and much longer lasting than touch-up paint alone.